By Justin Bailey.
Last Wednesday at Brooklyn’s 718 Cyclery a group of interested naturalists, aspiring outdoorspeople, and weekend warriors gathered to learn about the basics of reading maps from Justin Bailey of The Outdoor Ethos and Mappy Hour’s very own Sarah Knapp.
After handing out maps to everyone in the group, and cracking open some cold Sierra Nevada beers we kicked off the evening looking at what makes up a map.
1. Colors, Lines, and Symbols
What we learned as we looked at these maps for the first time is that most maps follow the same universal basic principals in order to identify important natural and man made features, the exact colors, shades, and shapes can differ slightly.
Our key takeaways:
- It’s important to always check your map’s key. Located in the corner of your map the key will tell you exactly what each squiggly line and color means.
- Green will likely be used to symbolize park land, public space, or wooded areas and each of these may be shaded differently depending on its designated land use. Be sure to take note of private property or protected space.
- Black typically will show human-mad structures like roads and towers. Black will also be used to identify parking areas, designated camping sites, peaks, and points of interest.
- Red almost always used to identity foot trails and paths.
2. Map Scale
Next, we looked a little closer and one of the more obvious things that stood out immediately was some of these maps were much larger than others.
Different maps will come in varying scales depending on the producer and how much land they are trying to show within the space they are printing on. A scale is the ratio of size between the map and the real world.
What to remember:
- A map with a sale of 1:24,000 means that every 1 unit on the map equals 24,000 of those units in the real world. So 1 inch on the map is 24,000 inches in the real world.
- The scale of your map will be written in the key, along with a conversion for miles. This is important to know when planning your trip and deciding on how far to go.
- Latitudinal lines are going from east to west while longitudinal lines are going north and south.
- Your map is always oriented so that the top of the map is pointed to true north.

3. Topographic Maps Are 3D
Do you remember that scene in the Matrix, after Neo is coming to terms about the real world and he wakes up in the middle of the night and Cypher shows him how to read the code and he stops seeing weird symbols but instead in his mind he’s seeing the images the code is trying to convey? No? Just me then.
Well, then I guess it’s good that we learned it slightly differently.
Topographic maps are a way to show three-dimensional land features on a two-dimensional image. This is done by the inclusion of contour lines on the map, a contour line traces an object along a plane and are laid out in set intervals to demonstrate scale.
Notes on reading topographic maps:
- Contour lines will usually be shown in brown and will be less opaque in color on the map.
- Because contour lines are on a plane at a specific height they will have a circumference, that circumference shrinks as you get closer to the top of a peak.
- A “V” shape pointing away from the peak is an indication of a ridge line where a “V” shape pointing towards the peak is an indication of a depression and likely where water will be running down from the mountain.
- Every 5th line will be slightly thicker and marked with a number indicating the elevation at that plane. Be sure to check to key because the elevation change between lines will differ from map to map; this is called the contour interval.
- Lines placed very close together indicate steeper tertian where lines with more space between are showing a more gradual slope.
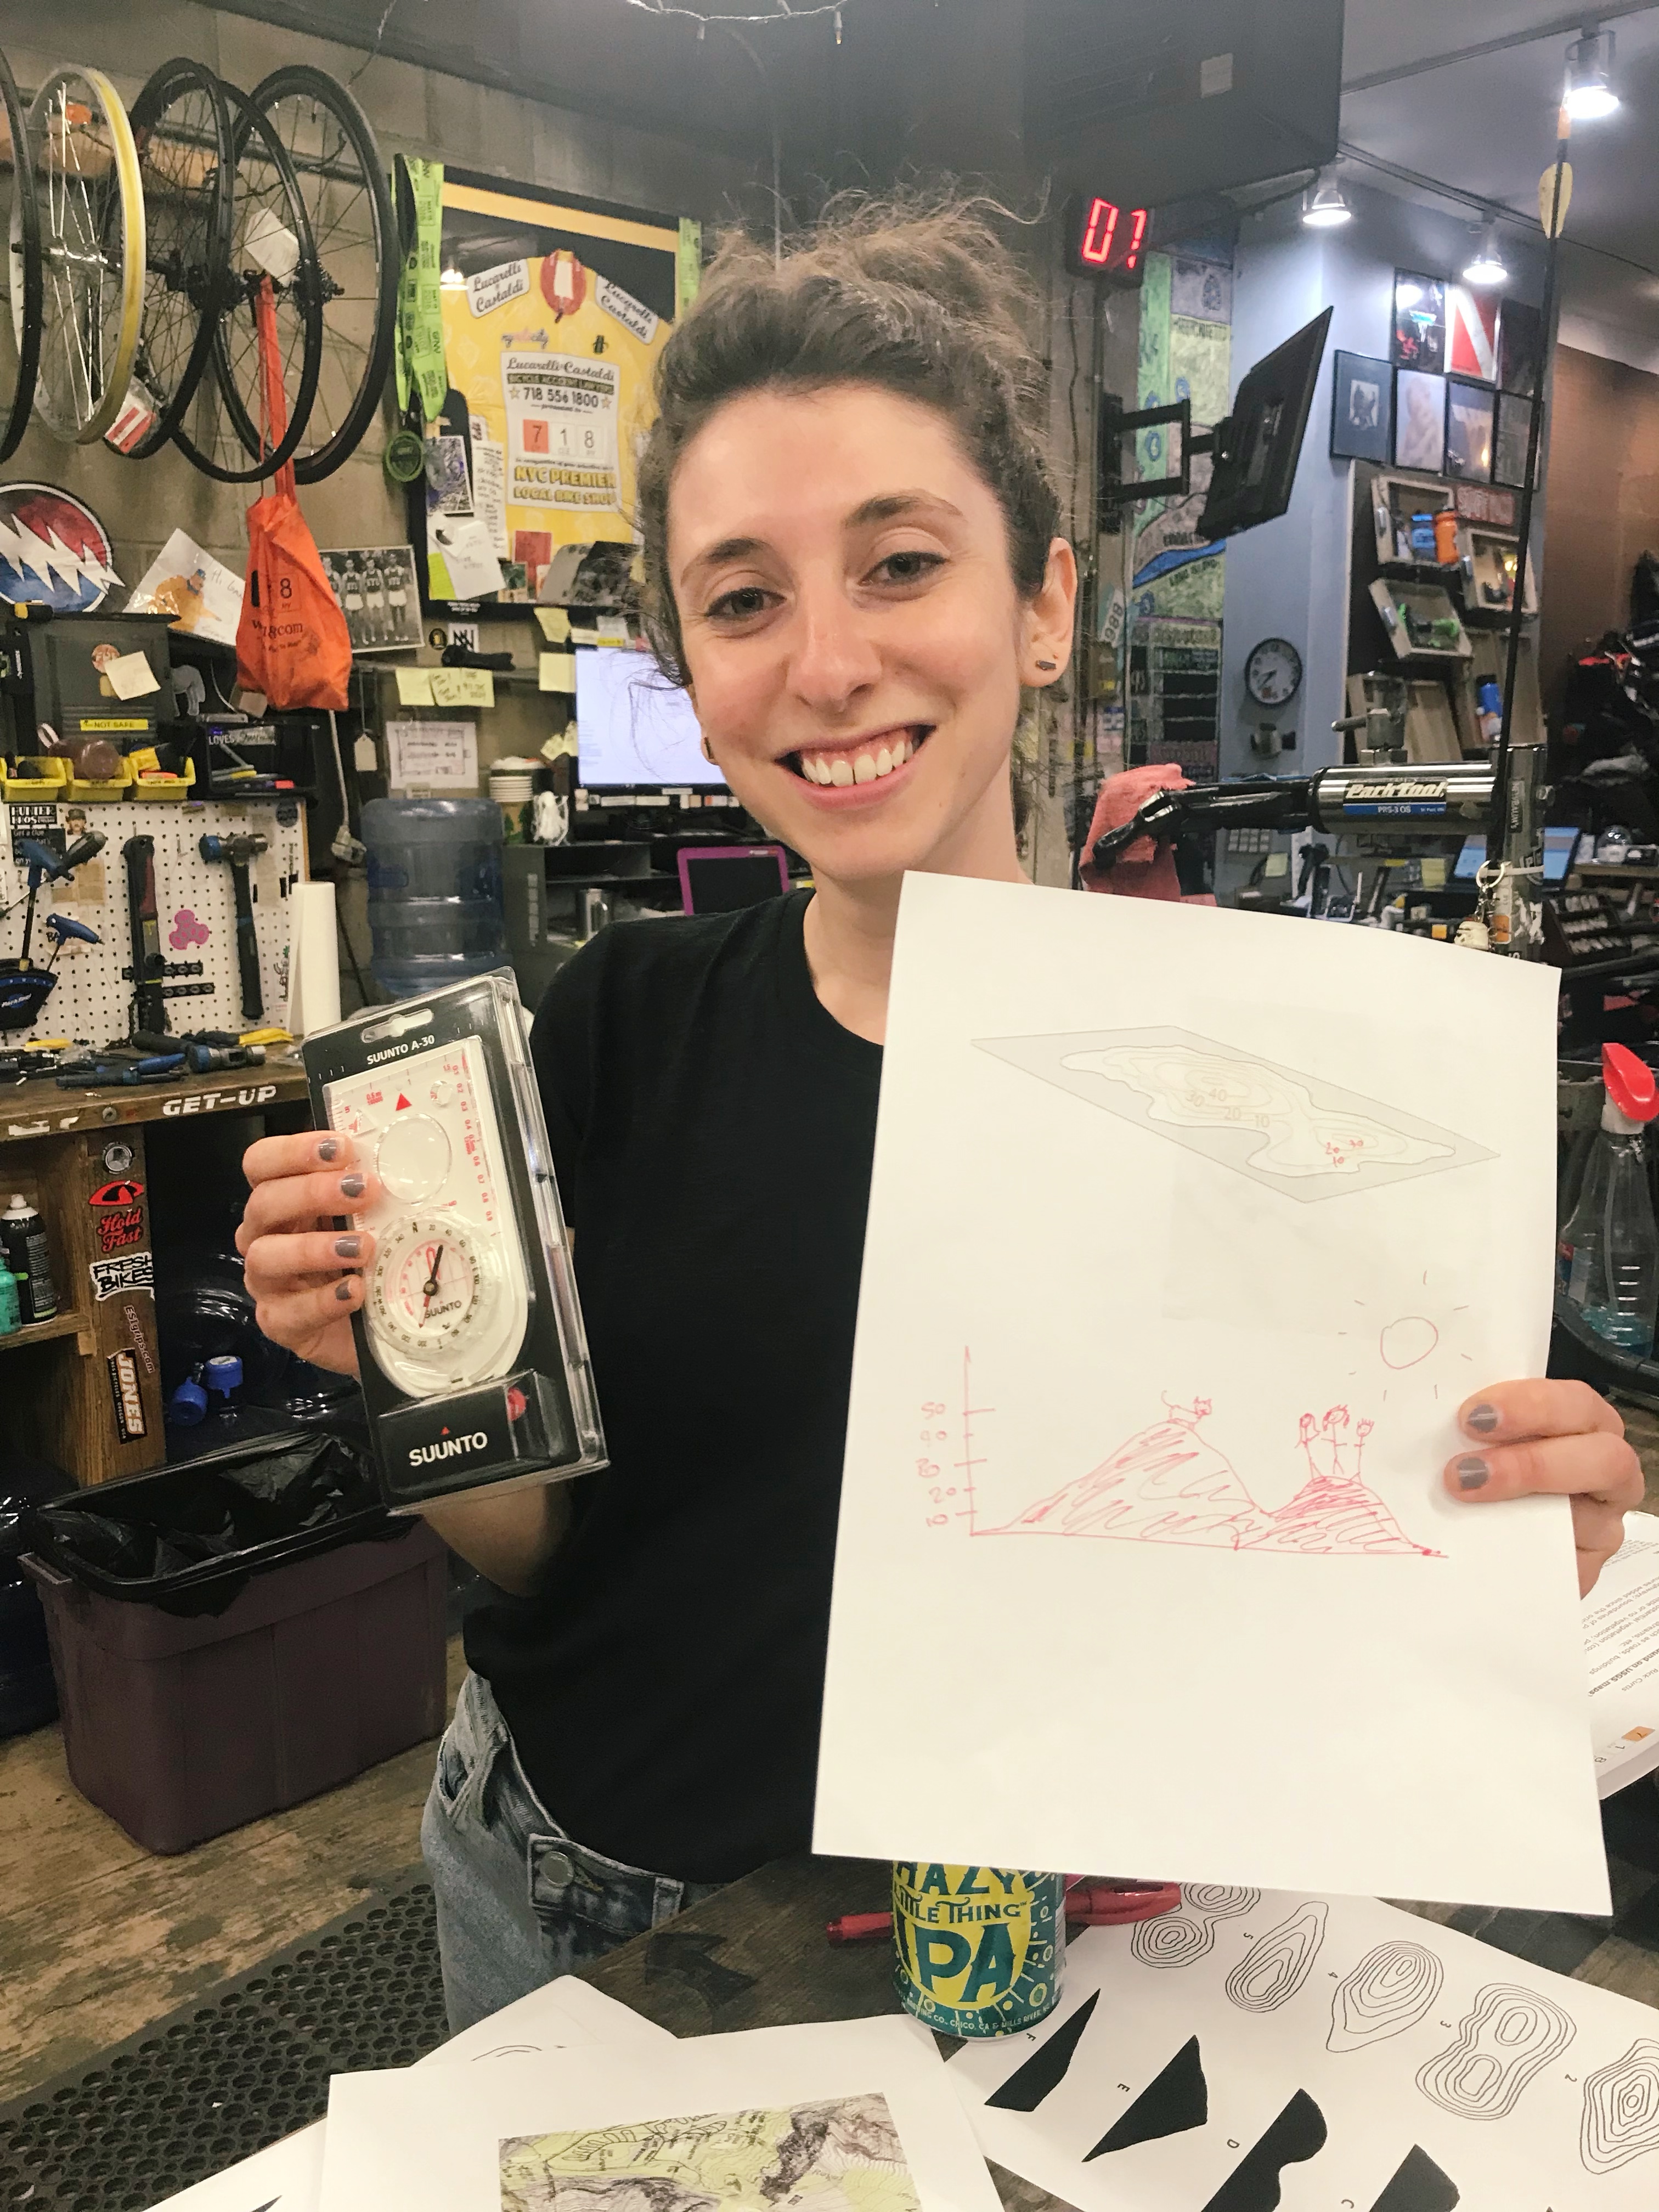
Here’s where we wrapped things up with a couple of games. The first challenge was from Justin where participants had to match up topographic lines with pictures of profiles. Those brave enough to reveal their answers to the group were rewarded with some pretty sweet stickers. Sarah then challenged everyone to a drawing competition using topo lines to create their best image of the mountain it represented. Competition was tight but the inclusion of some hikers and a sunset was the edge needed to walk away with the top prize of a Suunto compass!
Bonus:
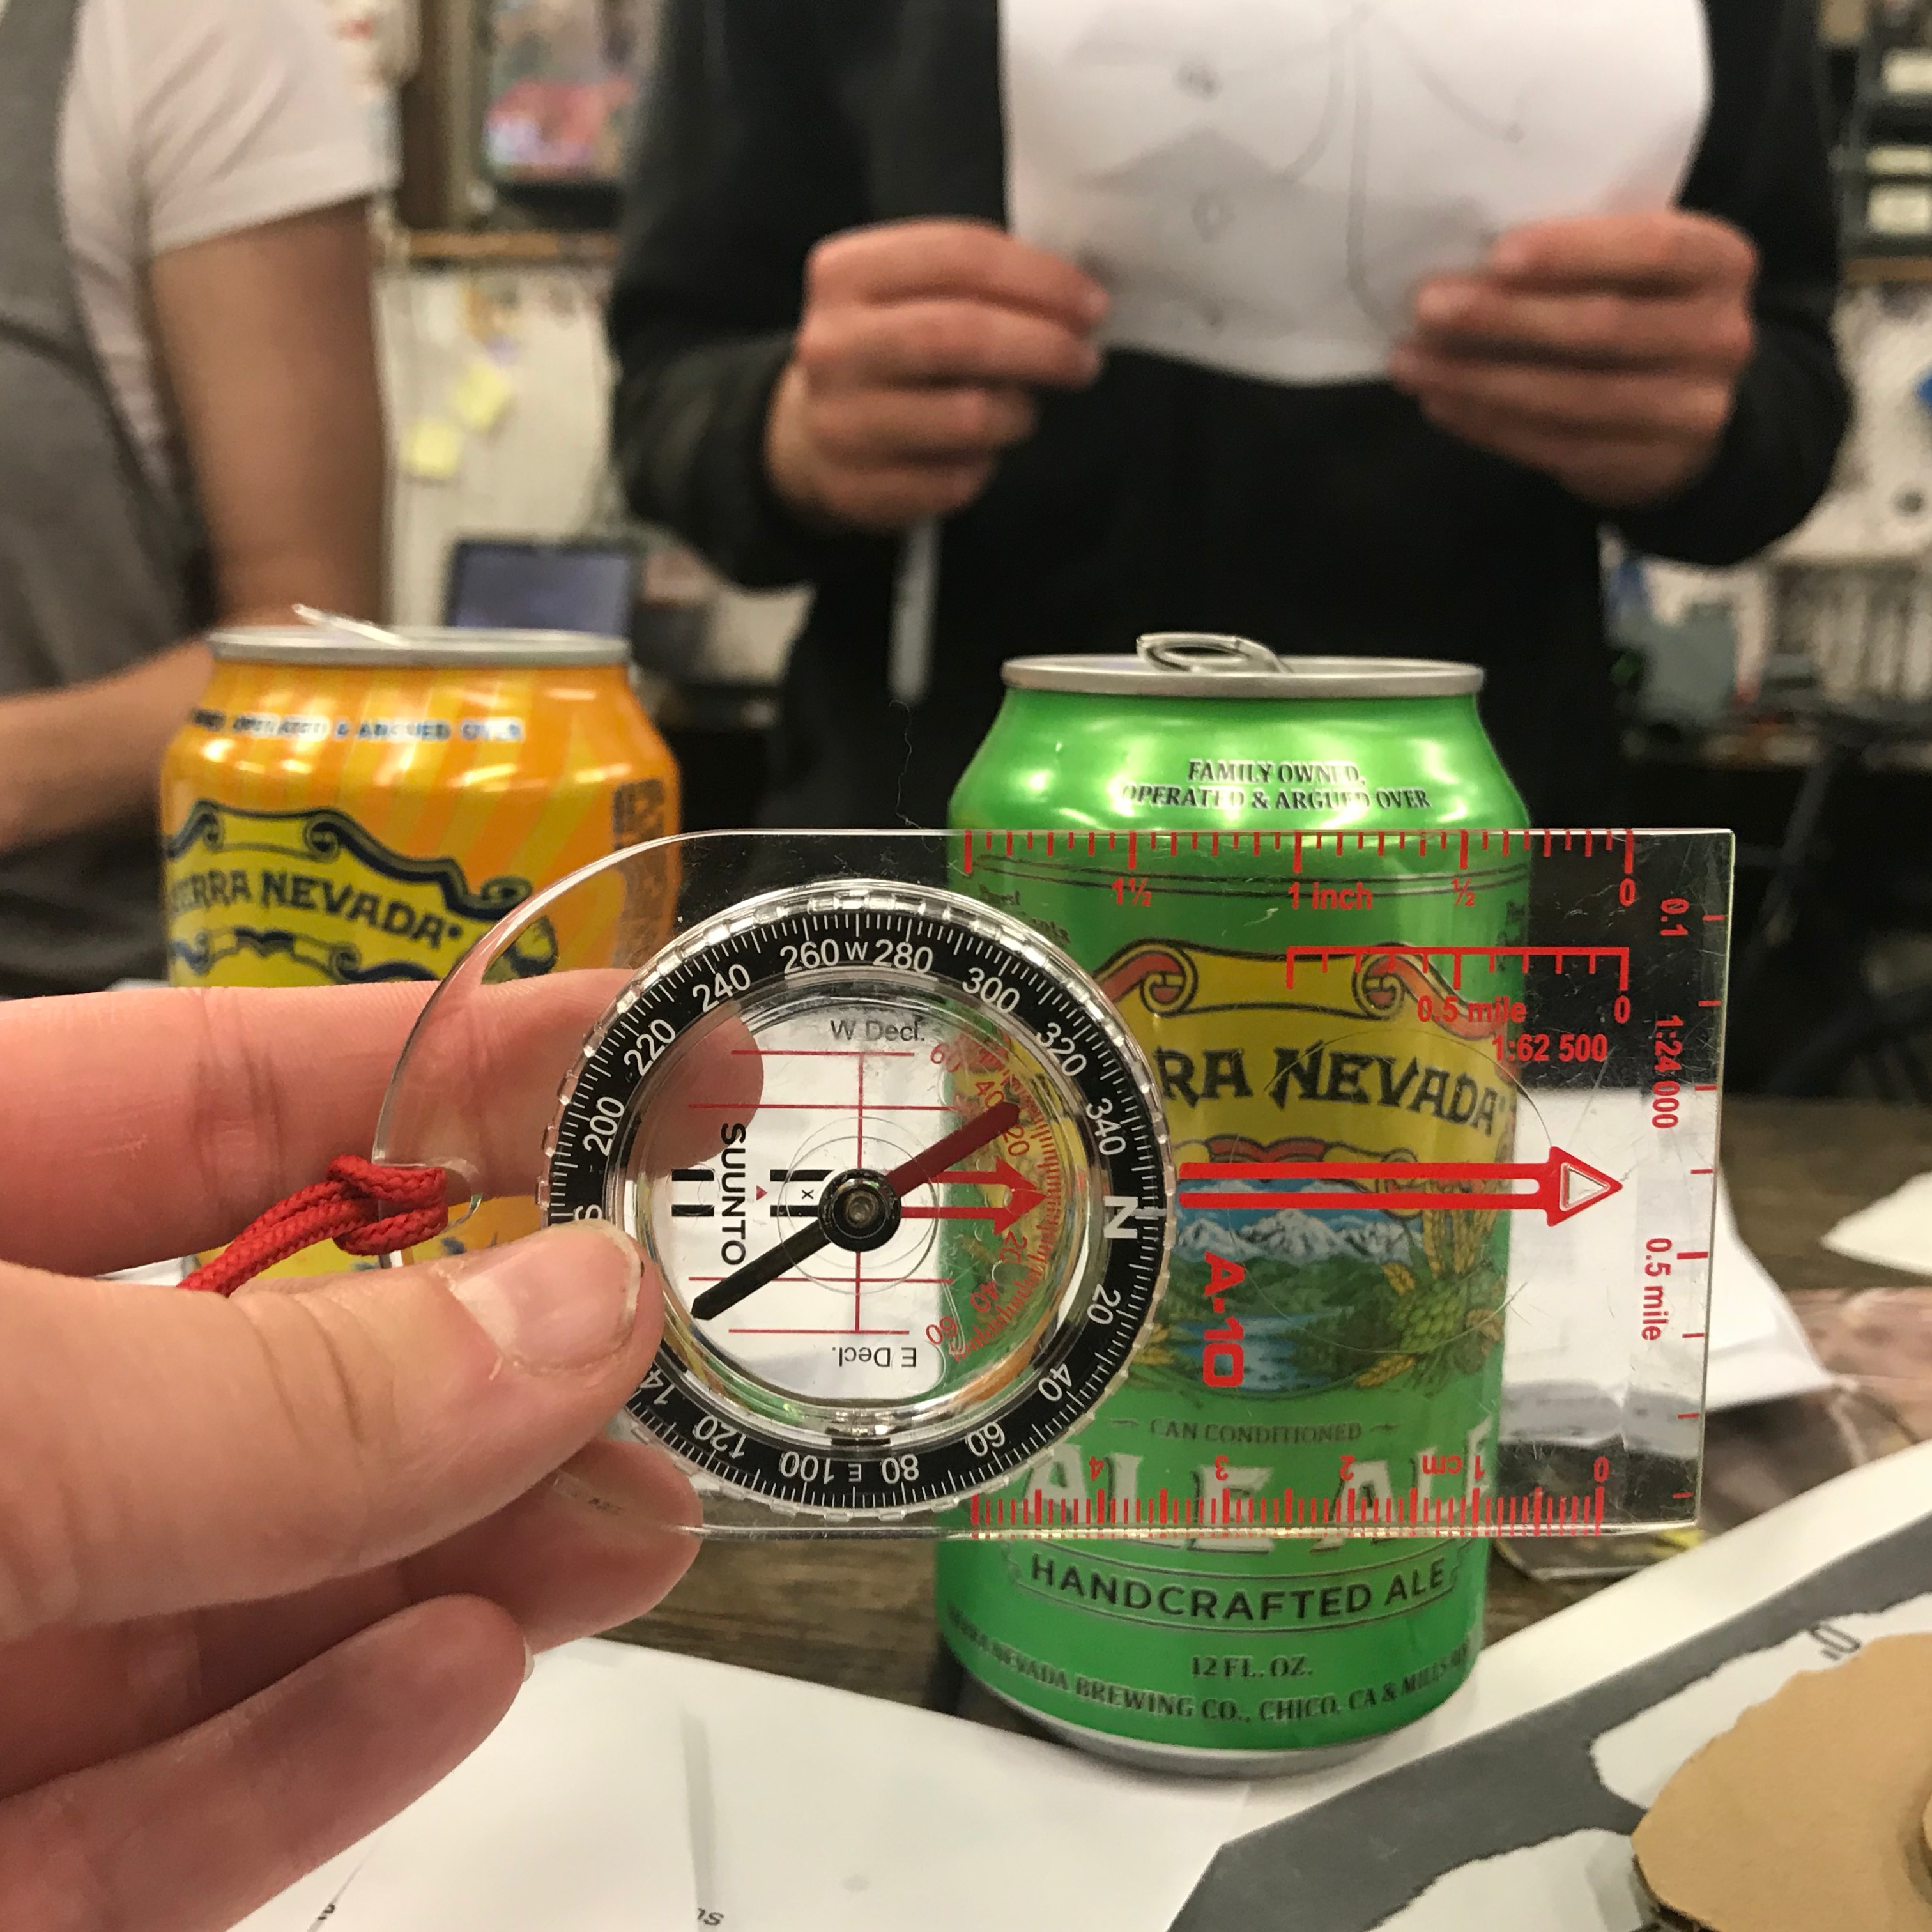
Justin took a few minutes at the end of the night to give the group a preview of using a compass in conjunction with the map, but that’s a Mappy Hour for another time.
